


DIY Cardboard Fidget Spinner Craft
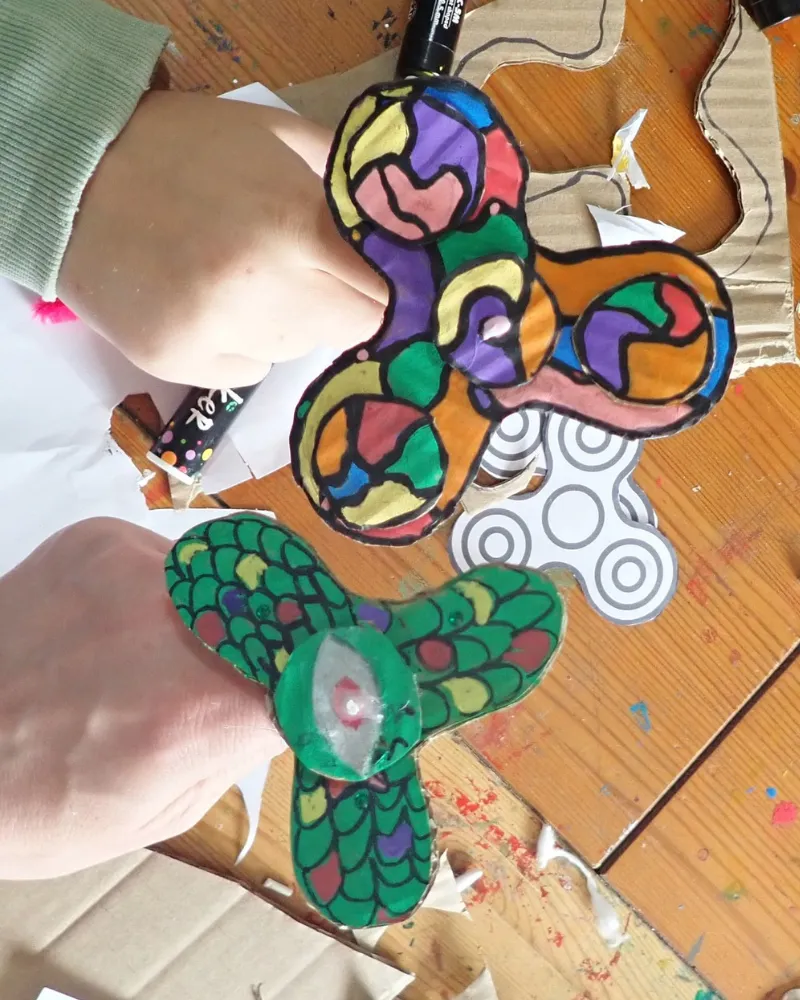
With this fidget spinner craft your will make your own spinner using cardboard, a cotton bud and a pony bead. This is a simple making activity with plenty of room for experimenting once you’ve got a spinner that works.
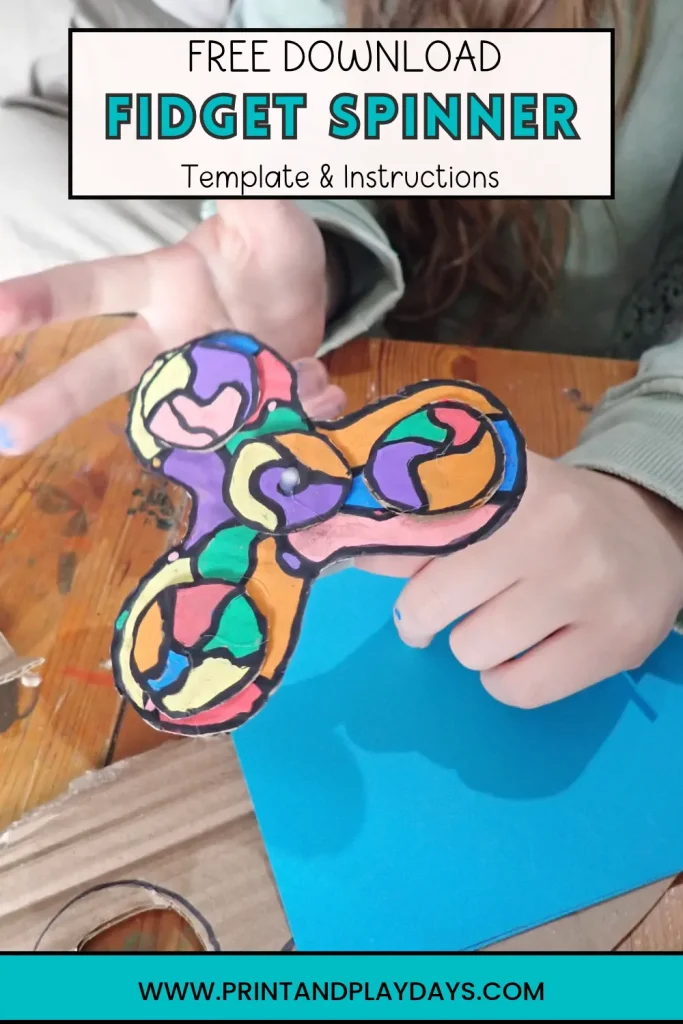
Table of Contents
How We Ended Up Making This
This cardboard fidget spinner started with a Pinterest video. My kids saw one and wanted to make it, so we copied the idea and made our own. Easy enough.
Except when we tried to spin it, it didn’t spin anything like the one in the video… Typical!
The cardboard pieces were rubbing against each other and creating too much friction, which was slowing the whole thing down. I could see that the kids were getting a little frustrated, so I had a go at working out how we could make it spin better.
That’s when we tried adding a pony bead as a spacer between the cardboard pieces.
And that changed everything!
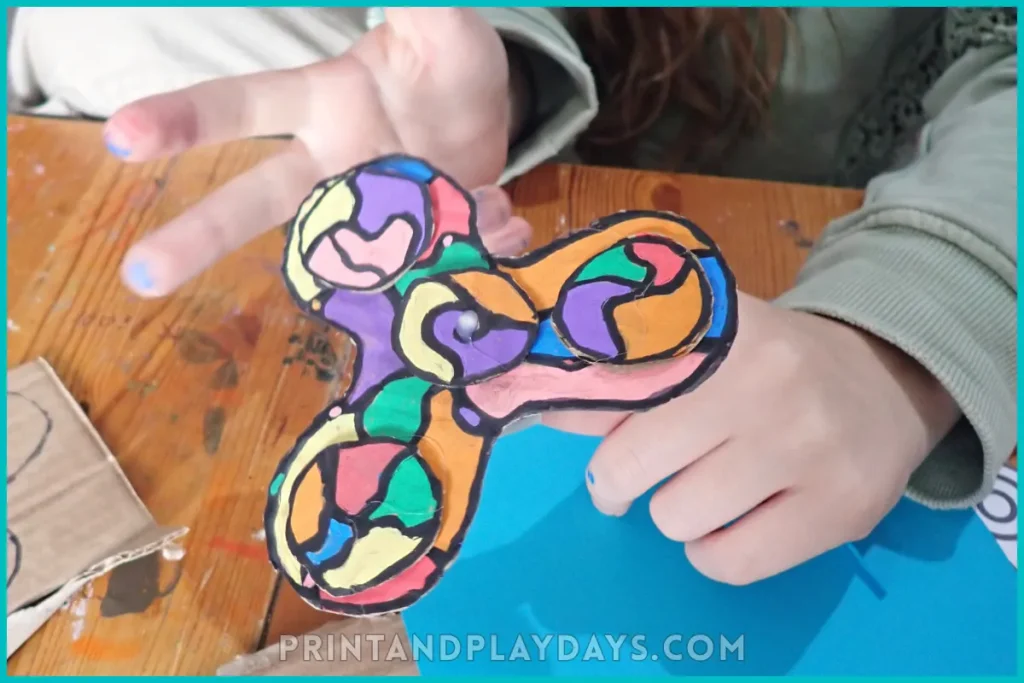
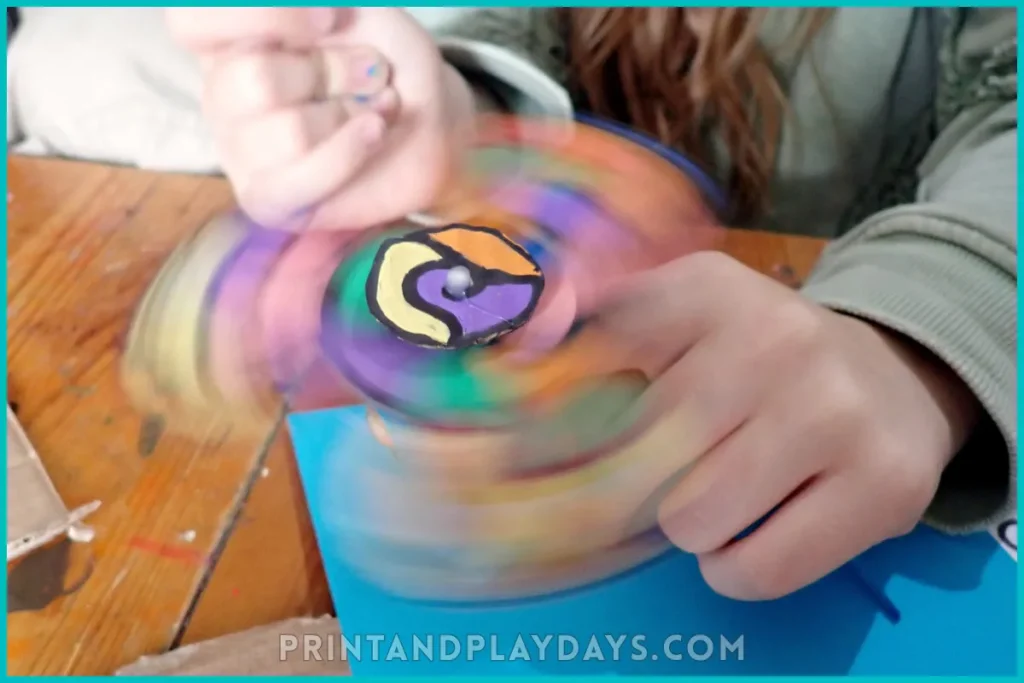
If you would like to have a go at making your own cardboard fidget spinner, minus the frustration, I’ve put together a Free Template With Step By Step Instructions that you can download below.
At A Glance
- Age: Around 10+ or with adult supervision due to using a glue gun
- Time: 20-30 minutes
- Prep: Minimal
- Best For: Home, Groups, Kids Craft Classes
What You’ll Need
To make this fidget spinner craft you will need:
- Free Fidget Spinner Template
- Cardboard – old boxes from Amazon work great.
- A cotton bud
- A pony bead
- Pens for decorating
- Scissors
- A compass or similar tool for making the centre hole
- Glue gun
- Strip of paper for the ring
We used a glue gun because it made putting the spinner together much easier.
Because of this, I’d recommend this activity for older children or having an adult handle the glue gun.
Download The Fidget Spinner Craft Template & Instructions
What Does The Activity Involve?
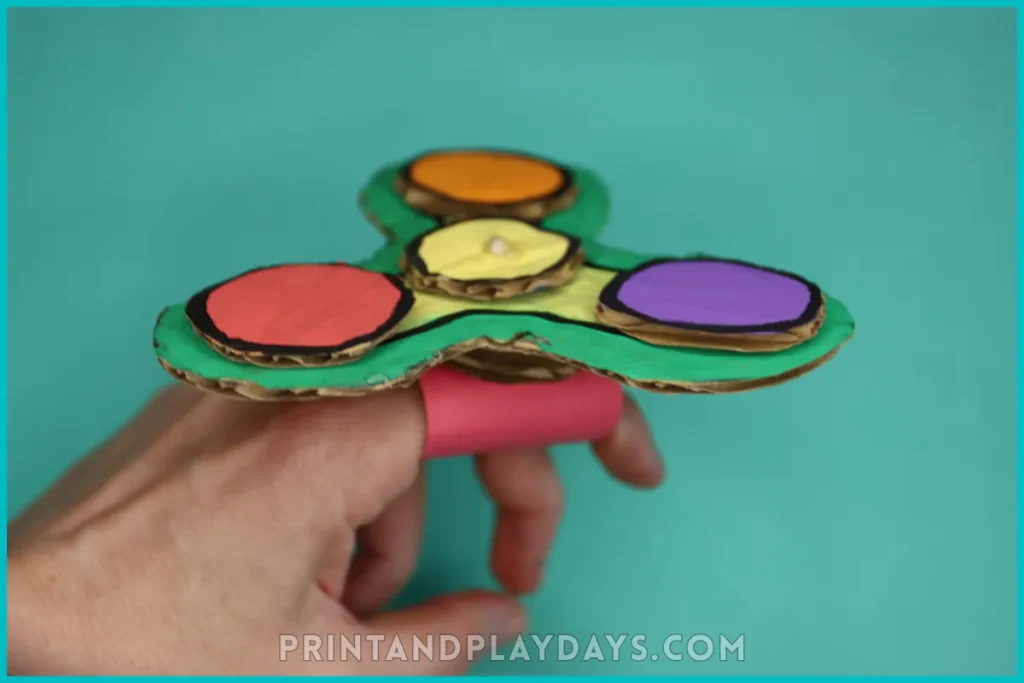
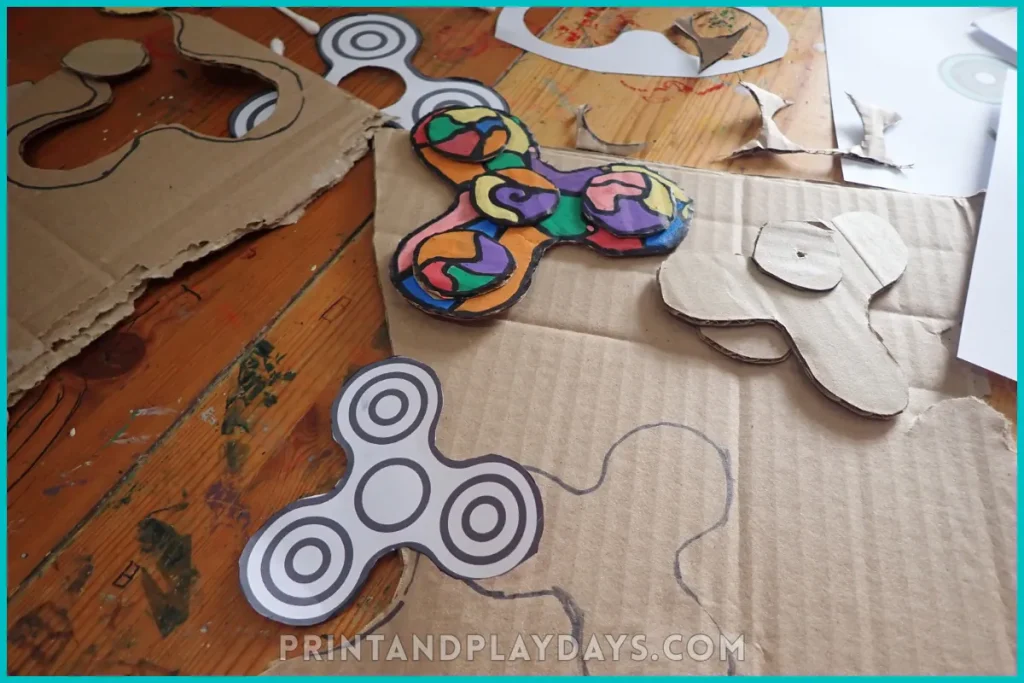
Children will decorate and cut the spinner from cardboard and use a cotton bud as the axle. The cardboard pieces need to be able to rotate freely around the axle, so they will use a pony bead as a spacer.
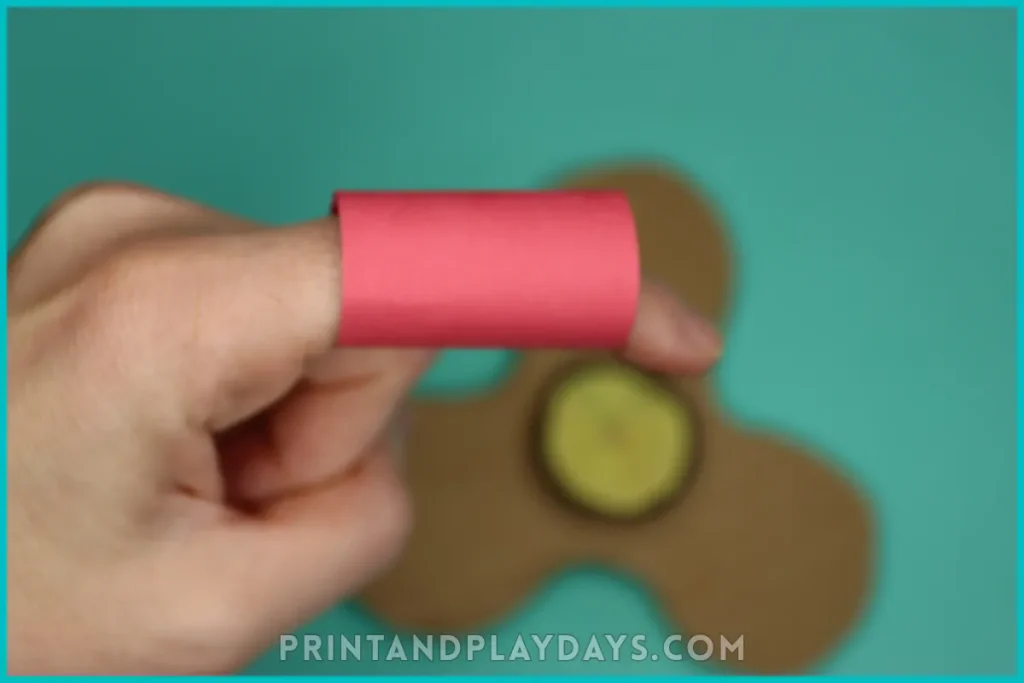
The spinners will be bigger than the standard toy ones, so they will need to make a ring for the spinner too.
What Can You Experiment With?
Once they have a working fidget spinner, children can make another one and try different things:
- changing the shape of the spinner
- making it bigger or smaller
- trying different cardboard
- decorating the spinner with different designs
- seeing how long you can make it spin
- working out what makes one spinner spin better than another
For this free version, we kept things fairly simple and stuck with the standard design. But there is definitely scope to start changing things and seeing what happens.
Tips From Our Testing
- The spacer makes a big difference.This was the main discovery from making ours. Without the pony bead, the cardboard pieces were rubbing together and the spinner was much harder to spin.
- Think about friction. If your spinner isn’t moving freely, have a look at what is rubbing against what. Sometimes a tiny change can make something work much better.
- The glue gun made things easier.We used one because it was quicker and easier for this particular construction. I’d recommend adult supervision for younger children.
Download the Free Fidget Spinner Template
If you’d rather skip drawing the shapes yourself, I’ve made a Free DIY fidget spinner template with step by step photo instructions to show you how we put ours together.
Made one? Tag @printandplaydays or use #printandplaydays — I’d love to see what you make.
Want Another Activity To Try?
Don’t put the cotton buds away just yet!
If your kids enjoyed making something that spins, I’ve got another simple one you can try!
You can read all about it here DIY Spinning Top Stem Craft
or you can check out the activity pack with templates and step by step instructions on my Etsy or TpT store.